Lessons #4 and #5 - Mask Making
Note: Lesson #4 and Lesson #5 work together to create two final projects.
Note: Lesson #4 and Lesson #5 work together to create two final projects.
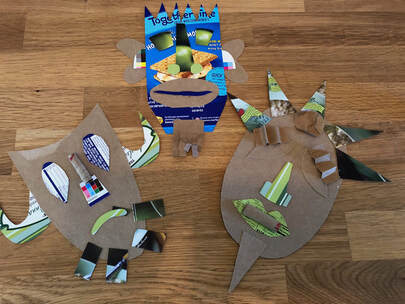
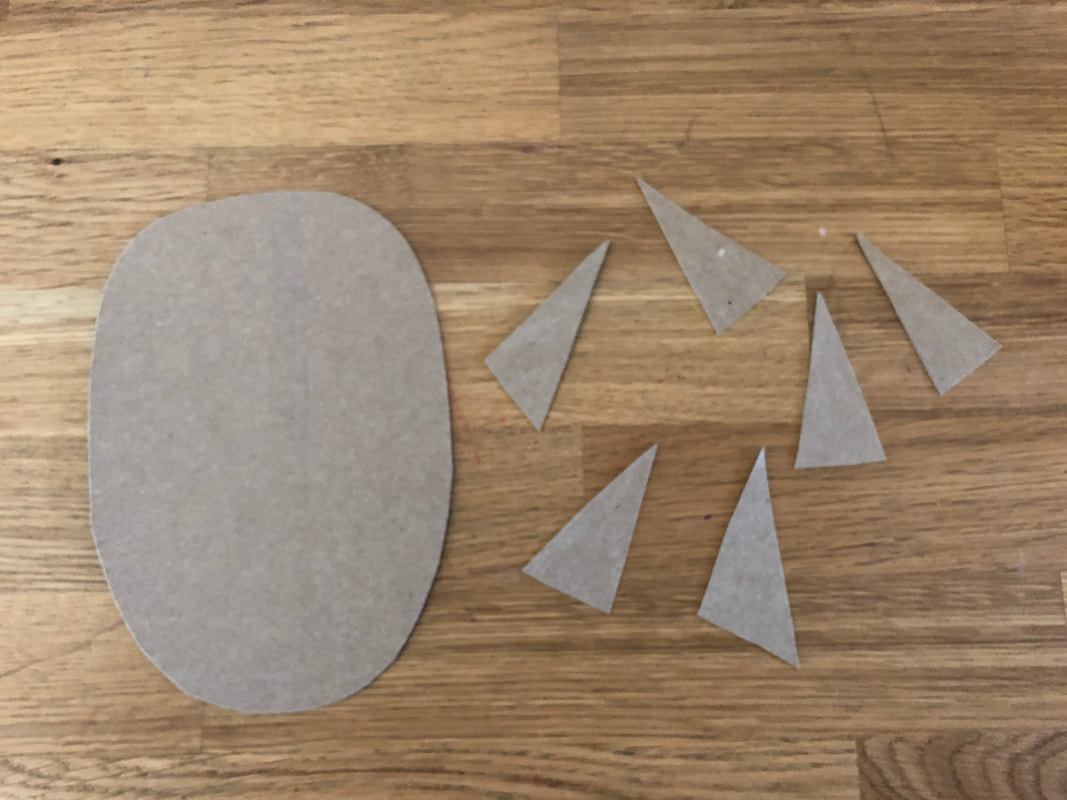
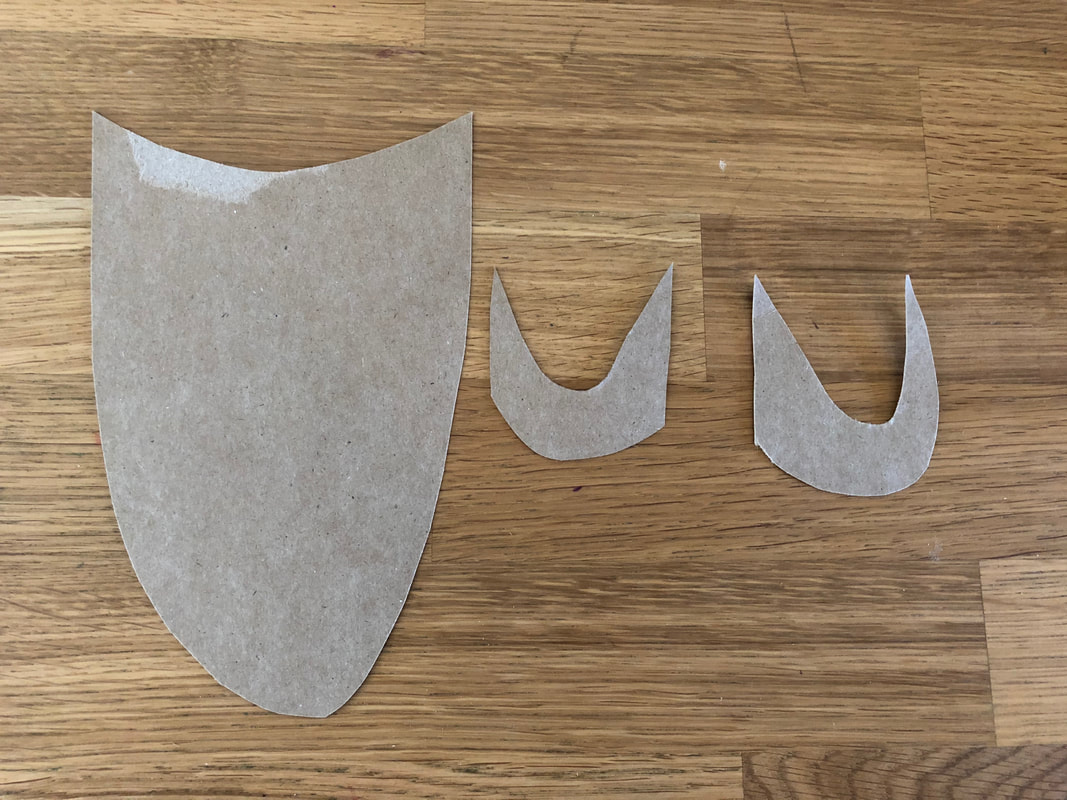
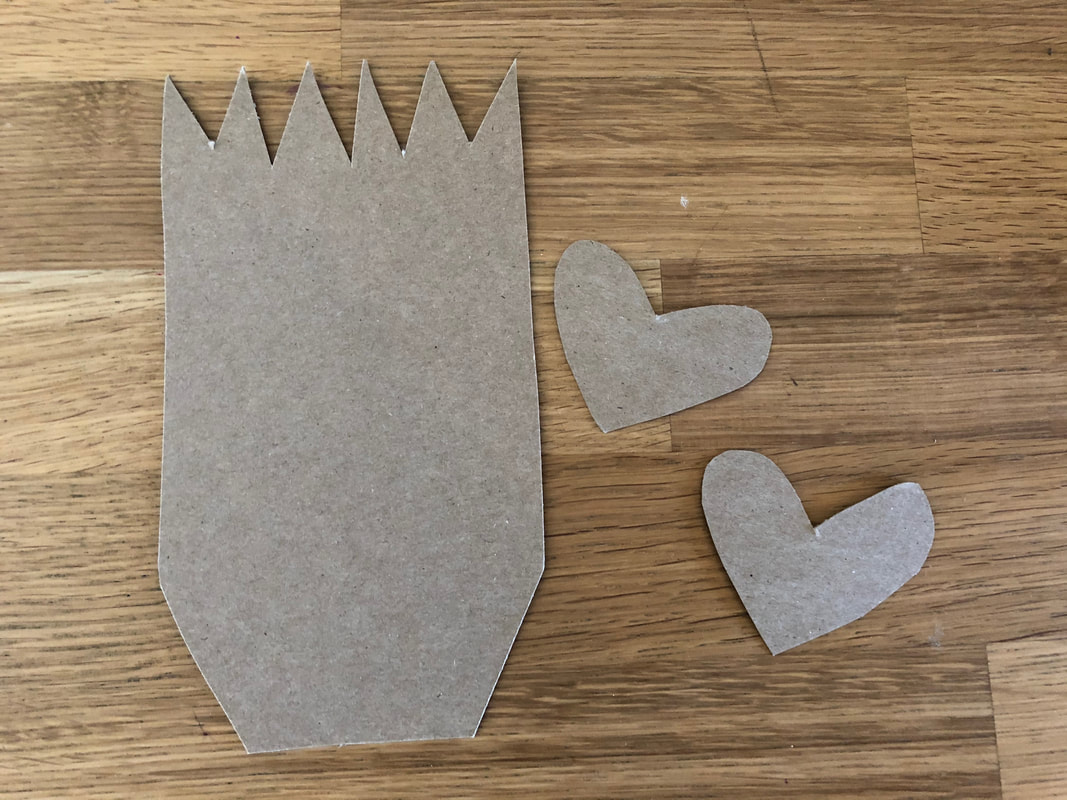
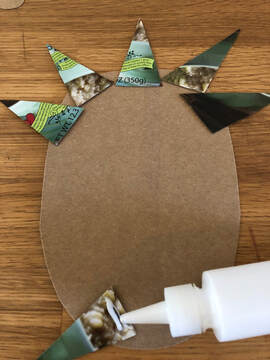
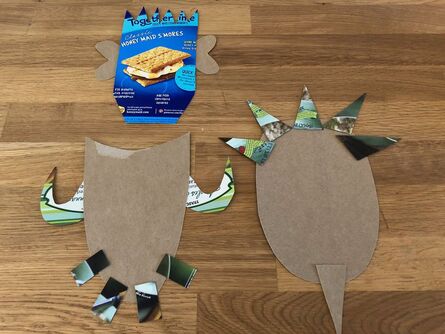
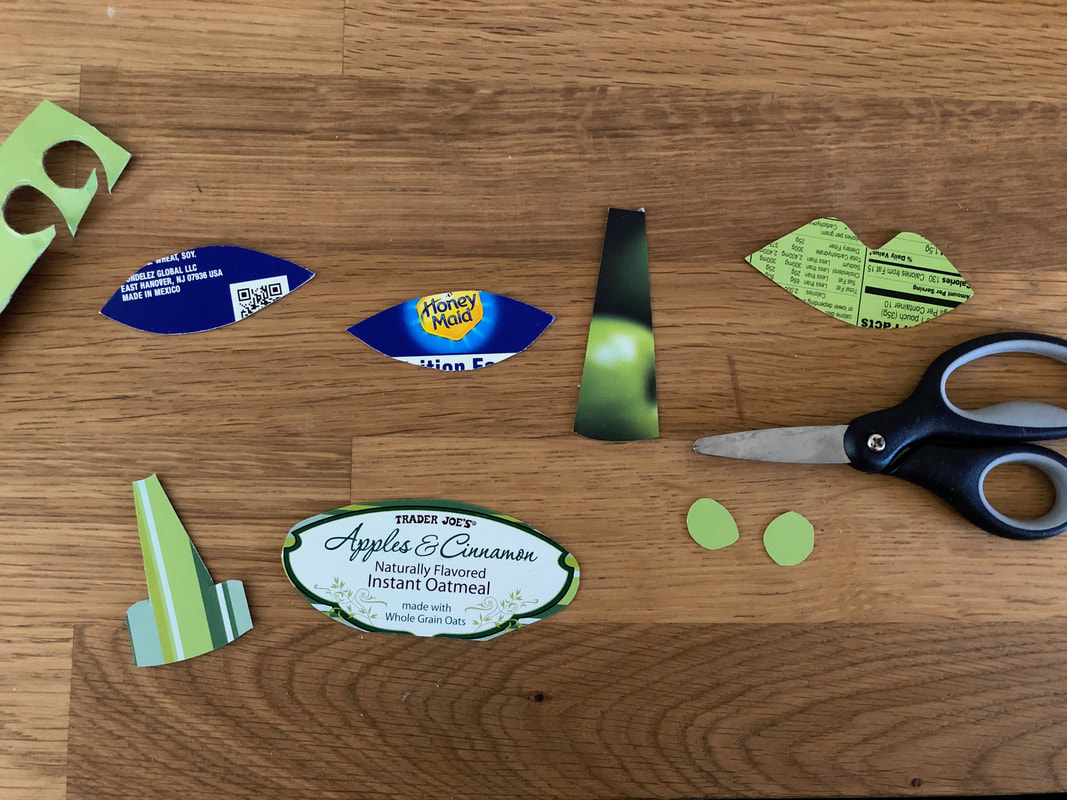
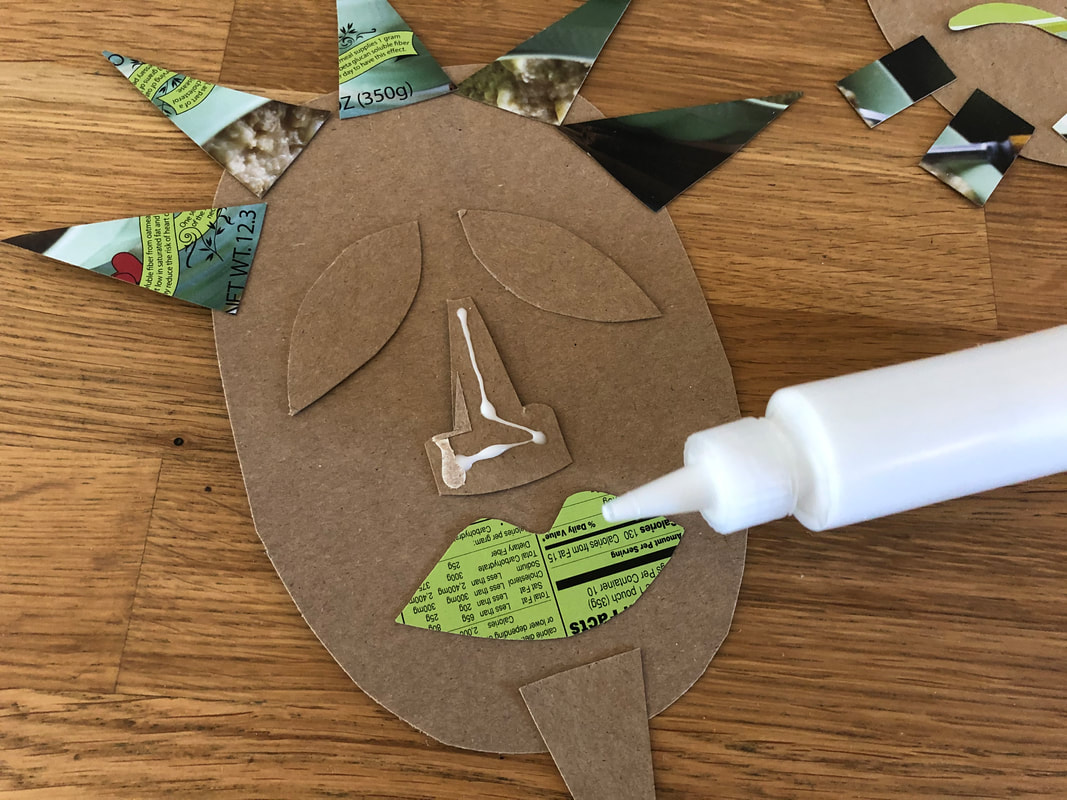
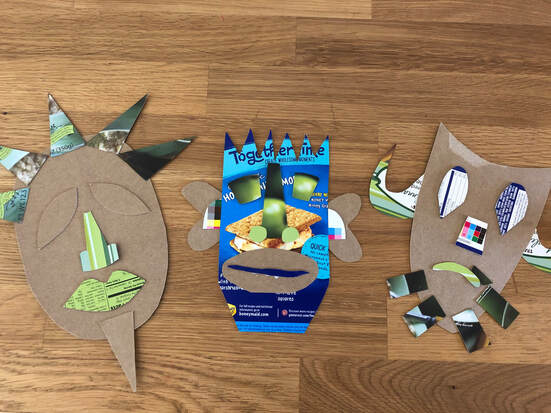
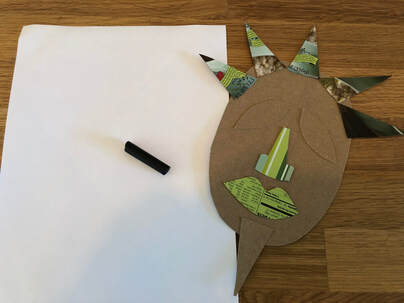
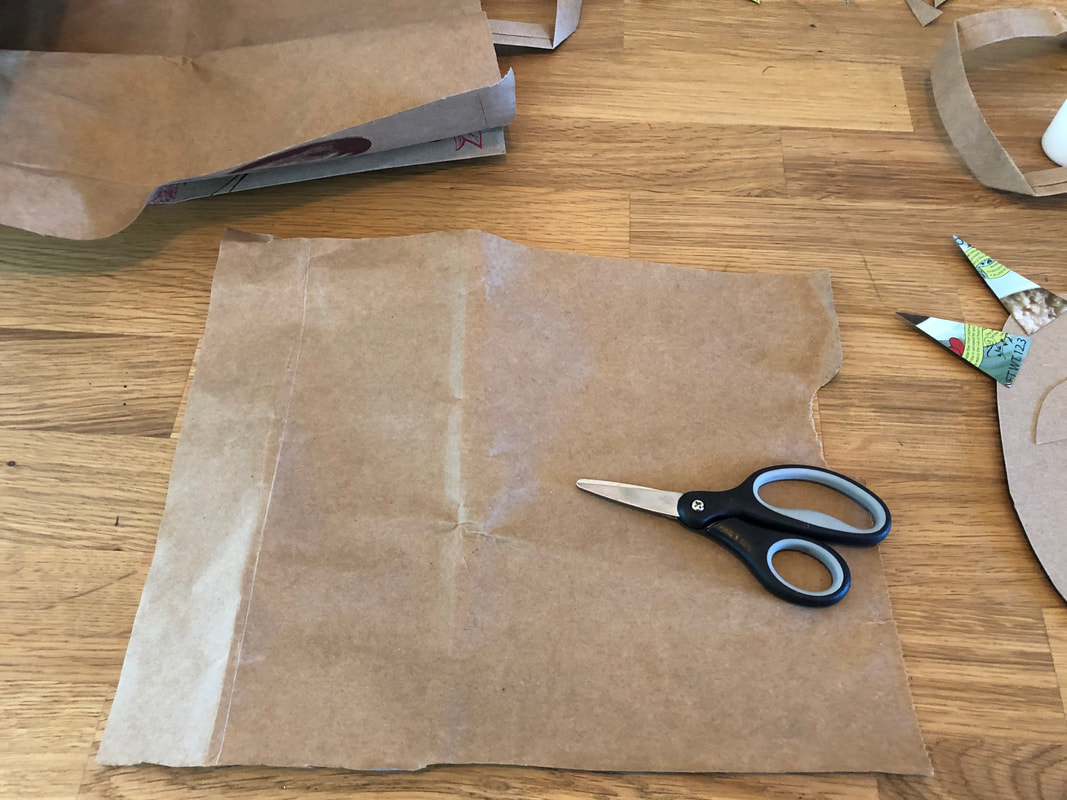
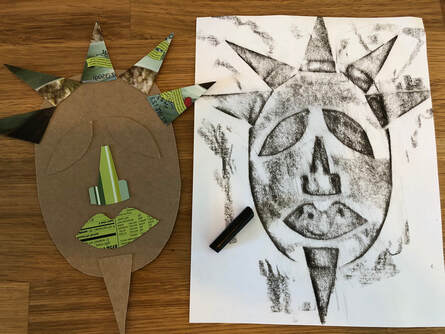
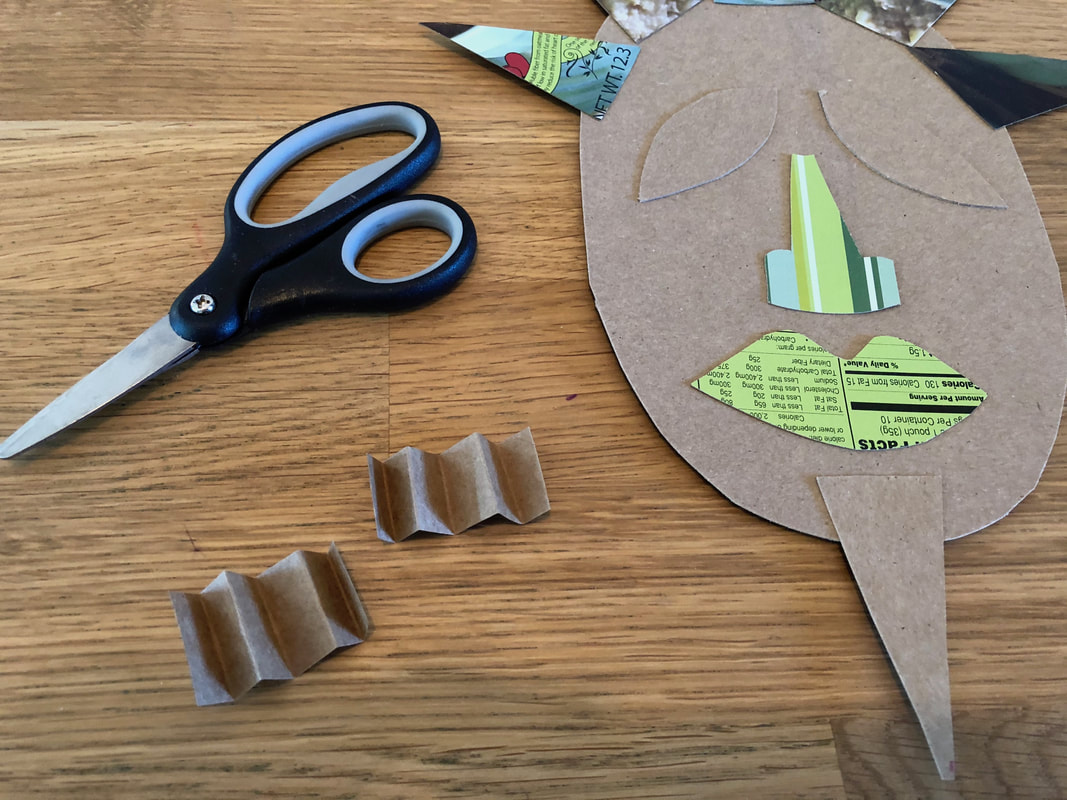
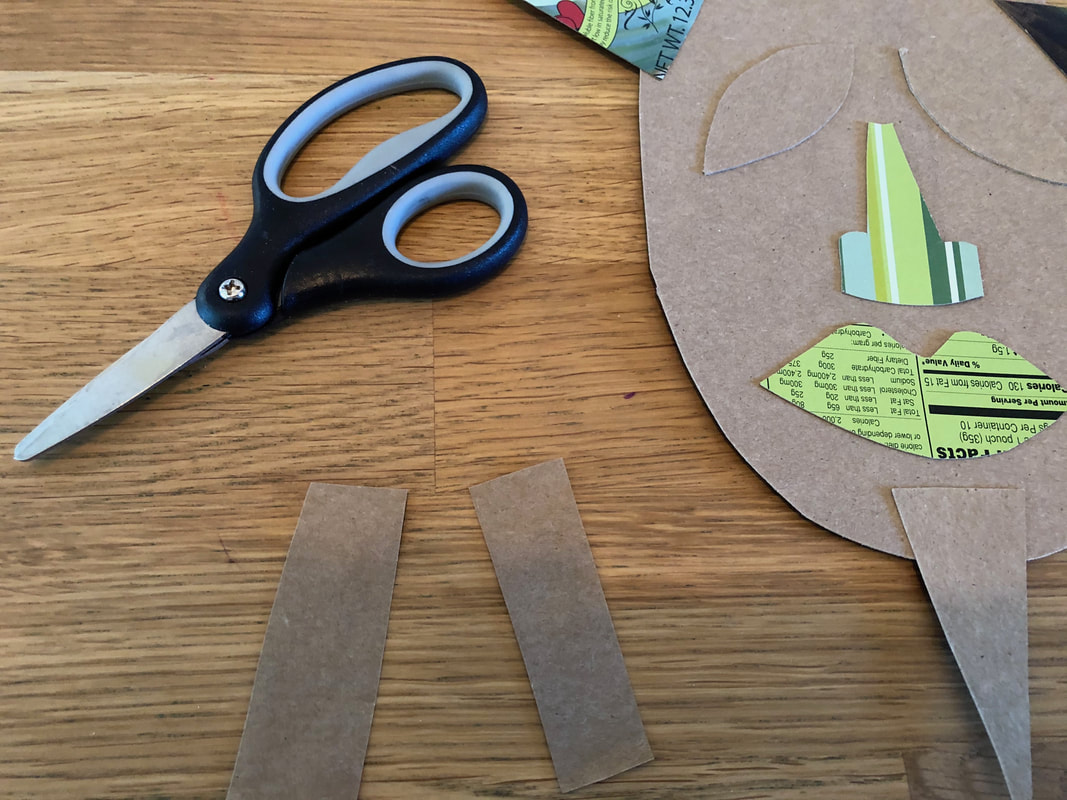
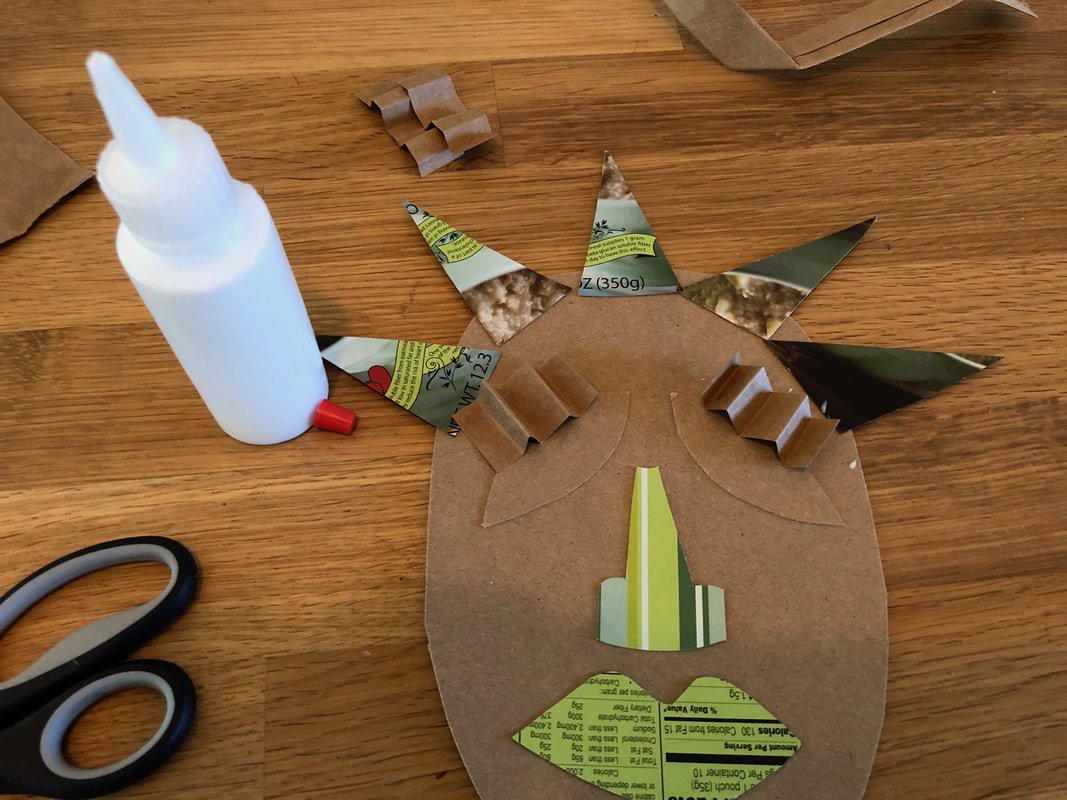
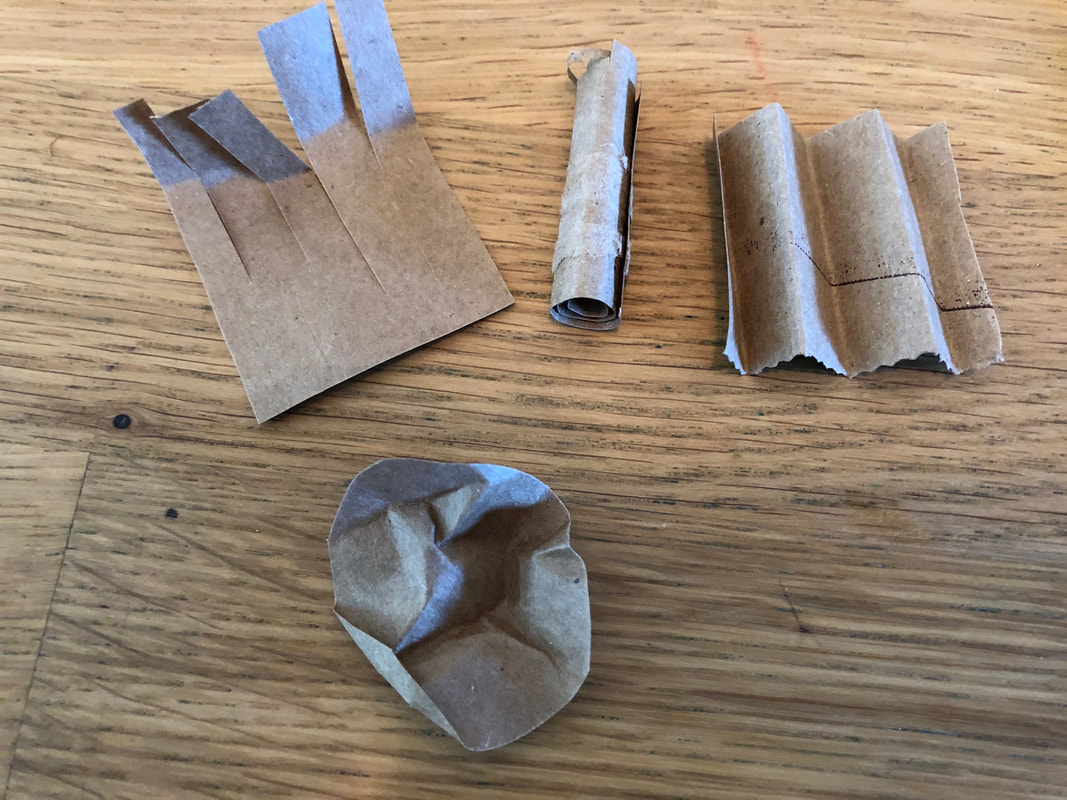
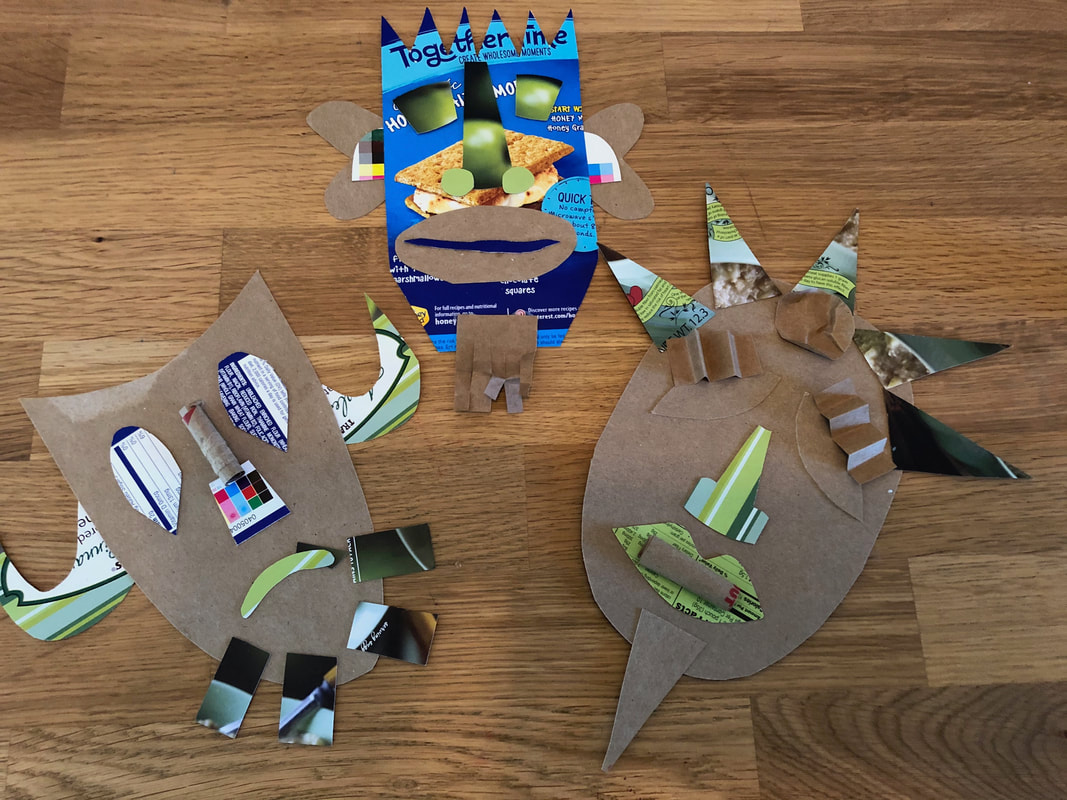
In Lesson #4 you will create a sculptural mask.
|
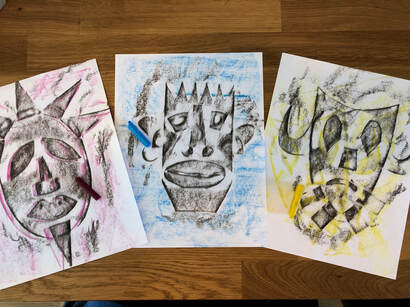
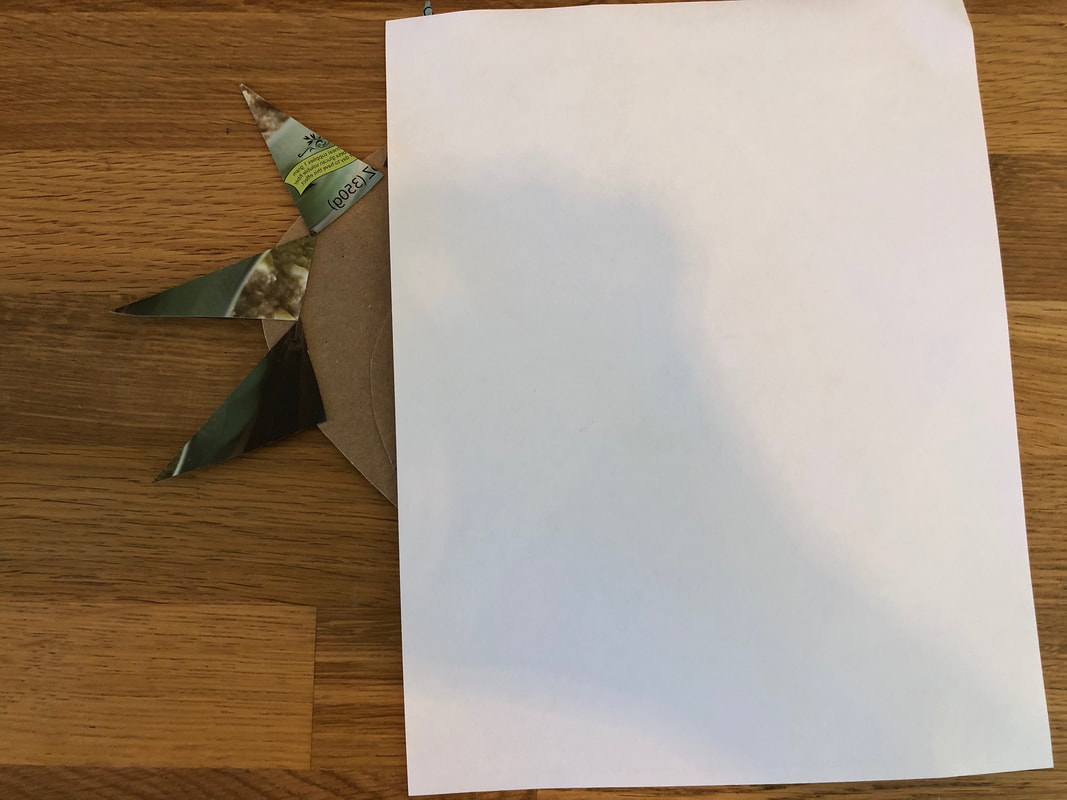
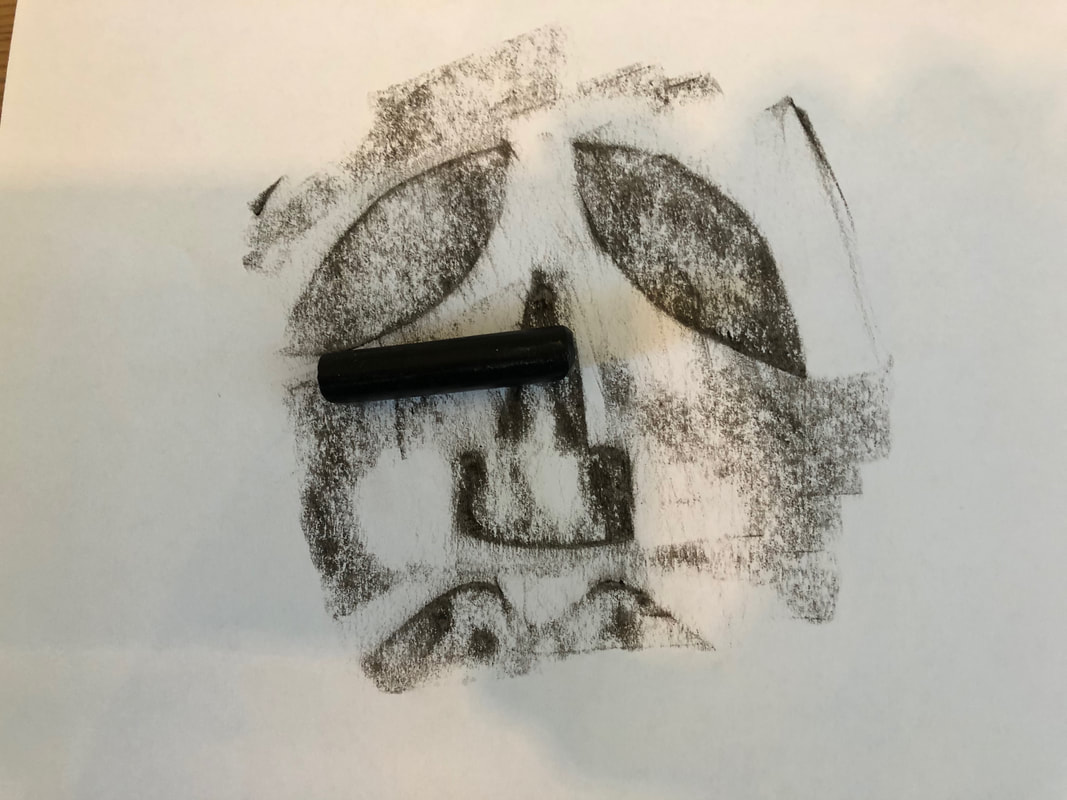
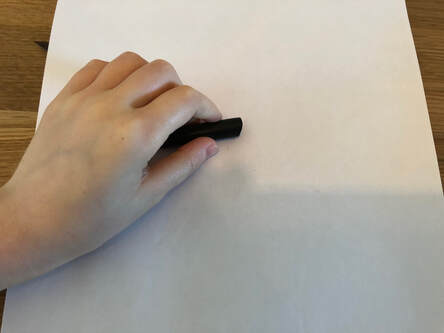
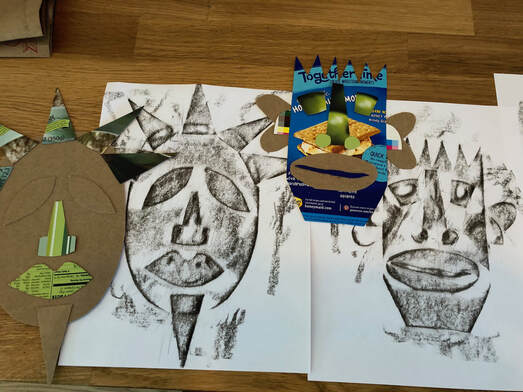
In Lesson #5 you will create a texture rubbing of a mask.
|